
Taking Care Of Your Bouquet
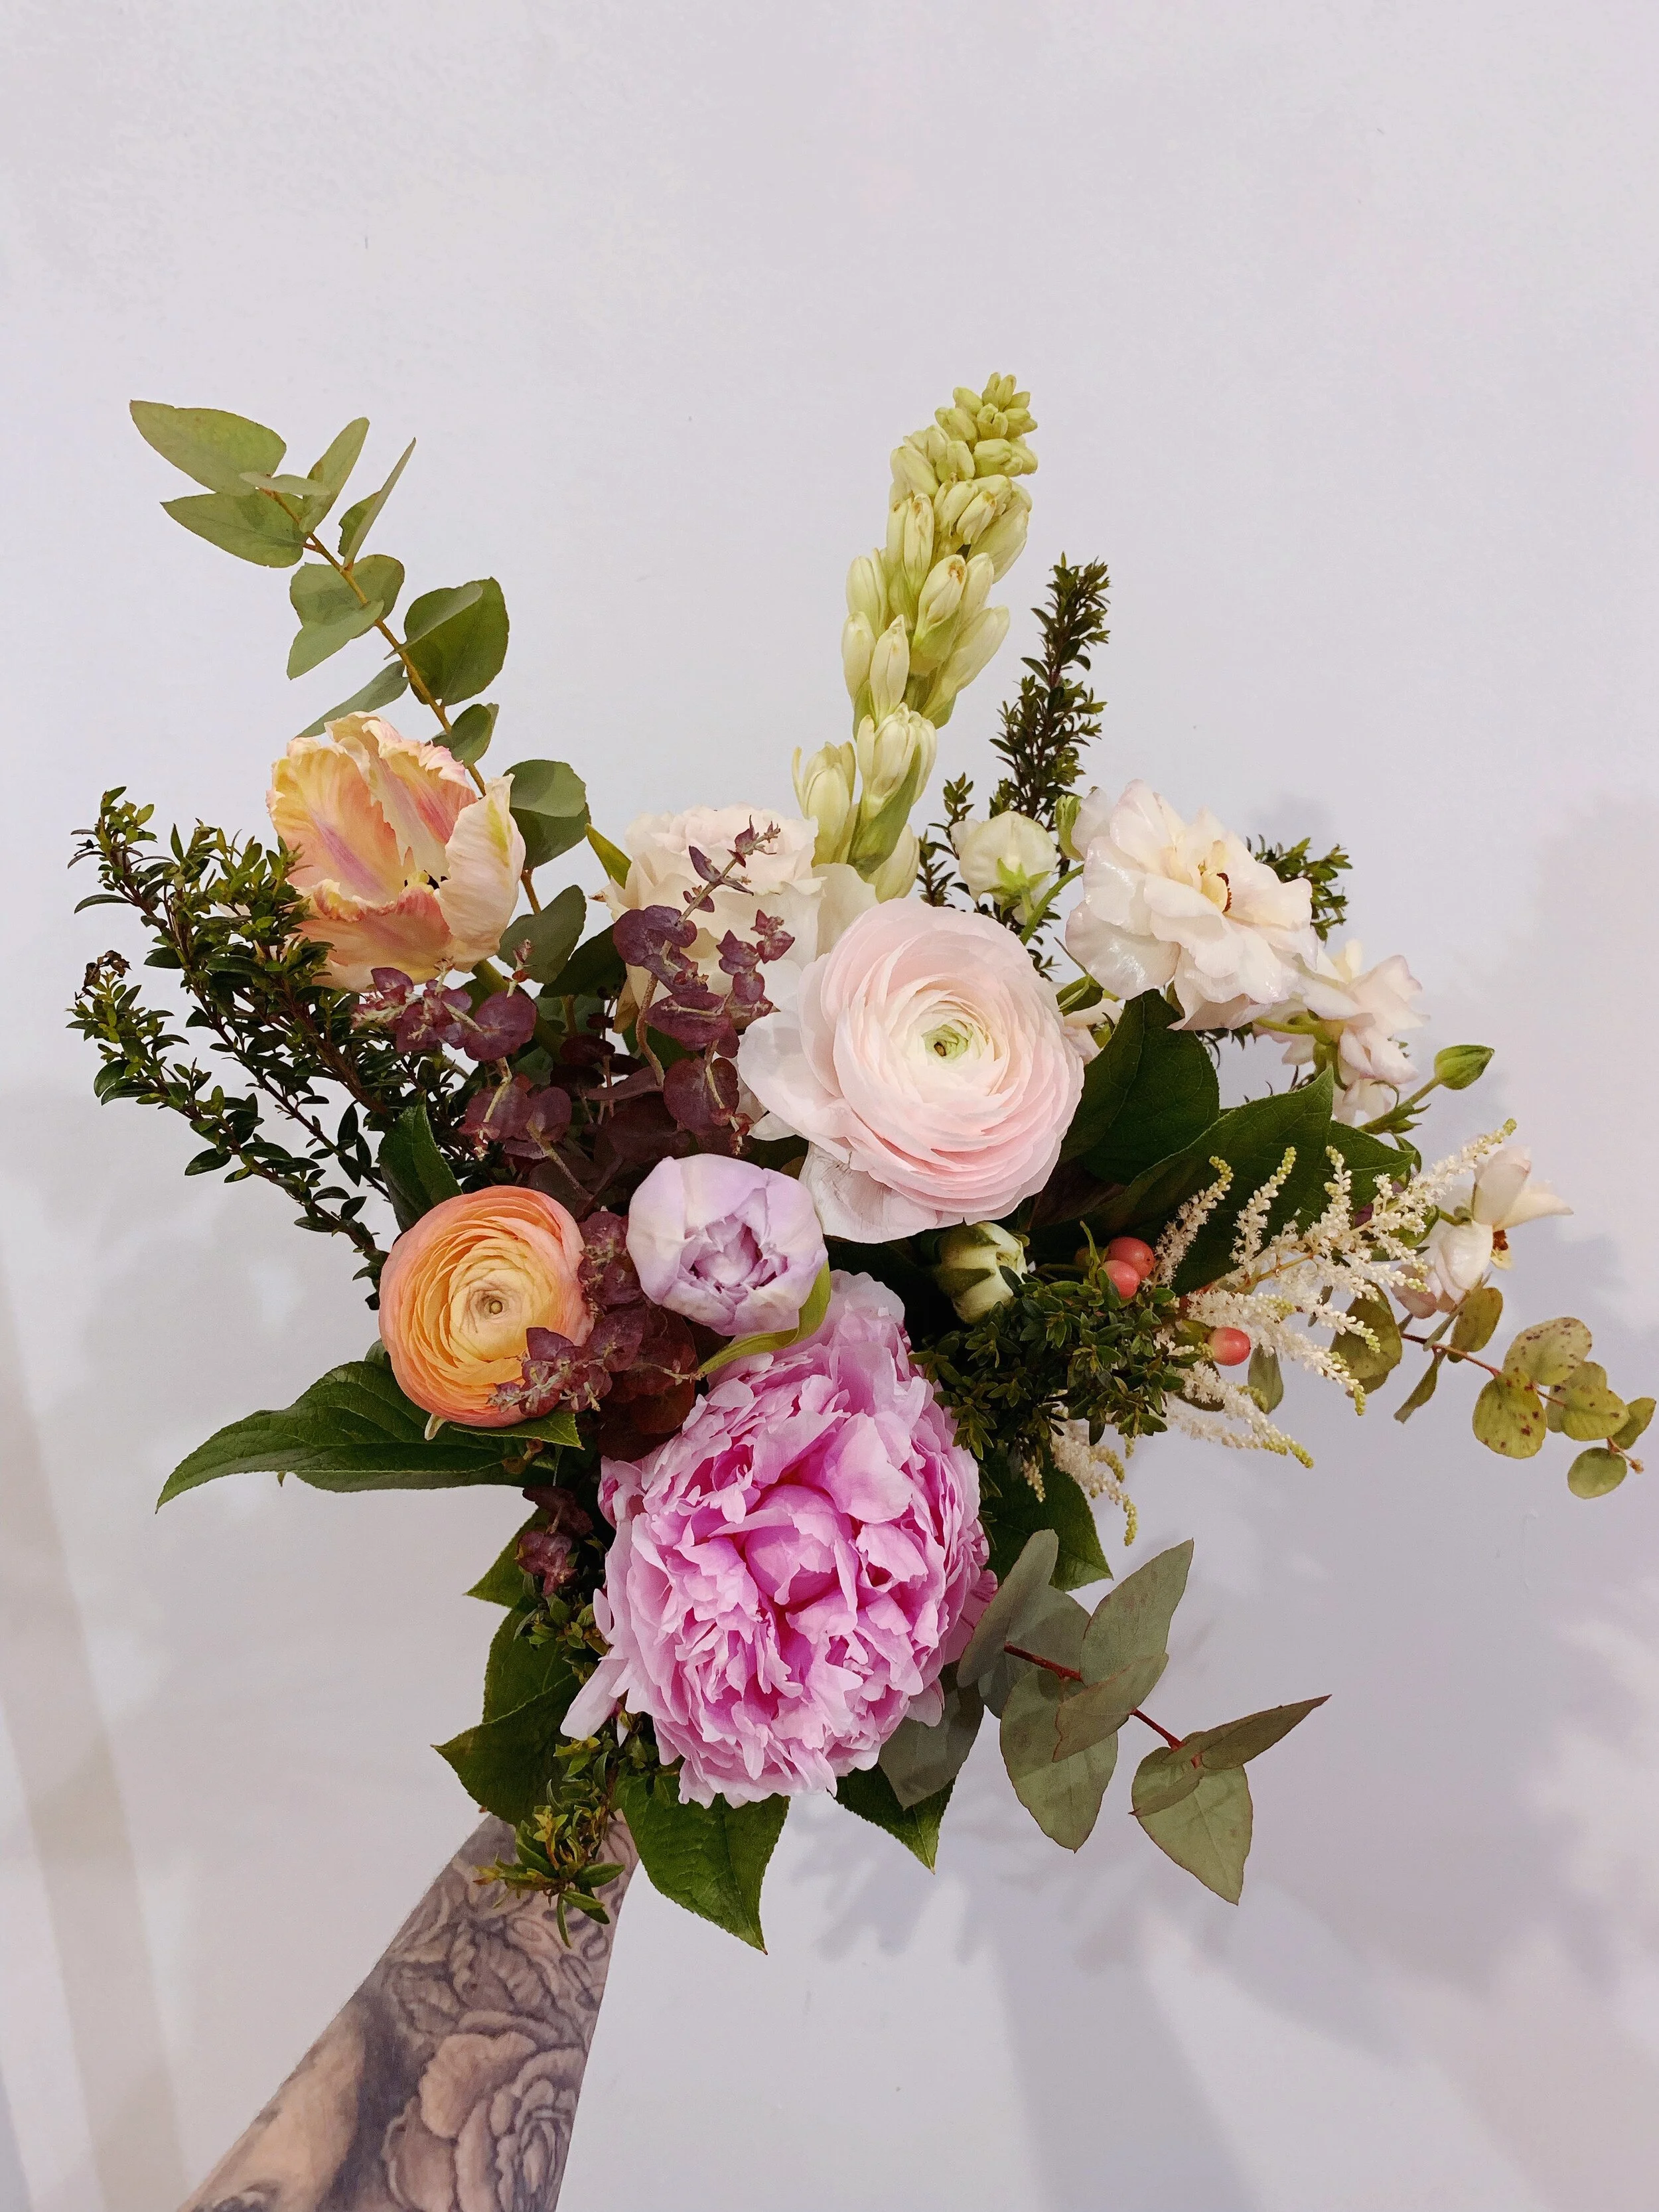
One of our most popular items is the wrapped bouquet! And I get why - most people have vases at home and you get a little more bang for your buck! We always include a nice mixture of blooms, textural accents and lush greens which all change depending on the season. It’s also really important that your flowers arrive fresh so each bouquet comes with an Eco Fresh Bouquet wrap, a 100% compostable water source to keep your flowers hydrated from our studio to their new home. Since we take the utmost care when the flowers are in our hands I wanted to make sure that our customers have the tools and instructions they need to keep their bouquet as fresh as possible as long as they can!
At the bottom of this website you’ll find a link to “Flower Care” - some tips to take care of your arrangement or bouquet once it’s home! But I wanted to really dive into the specifics with this post. Ya know, cause pictures and links are helpful when this isn’t what you do for a living!
So yay! You just received a fresh bouquet of flowers. Before even unwrapping them find a clean vase to use and fill it up ¾ of the way with water. Pro tip: use a vase with a narrow opening to keep your stems sturdy. Mason jars are great for a small bouquet!
Unwrap your bouquet and remove any leaves that might become submerged in water. The reason for this is because once these leaves sit in the water they start to break down and the bacteria will make your flowers expire sooner - no one wants that!
Next, grab your clippers! I recommend using these ARS clippers if you’re someone who often has flowers in the house - a tool specifically designated for stem cutting wont crush the stem which would then make it harder for it to drink.

ARS Clippers
Otherwise a clean pair of scissors will do the trick. Hold the bouquet in your non dominant hand and give each stem a ½”-1” cut on a 45 degree angle. Why you ask? Well, you’ll want to keep the length and not cut too much off and the angle won’t allow the bottom of the stems to hit flat on the vase - blocking them from drinking the water. Place the flowers in the vase immediately after cutting them.

On an angle
Do they look crazy? Is your vase about to tip over? From here you can cut them down until they comfortably fit your vase. Remember that the more you cut you might have to remove leaves that are getting submerged.
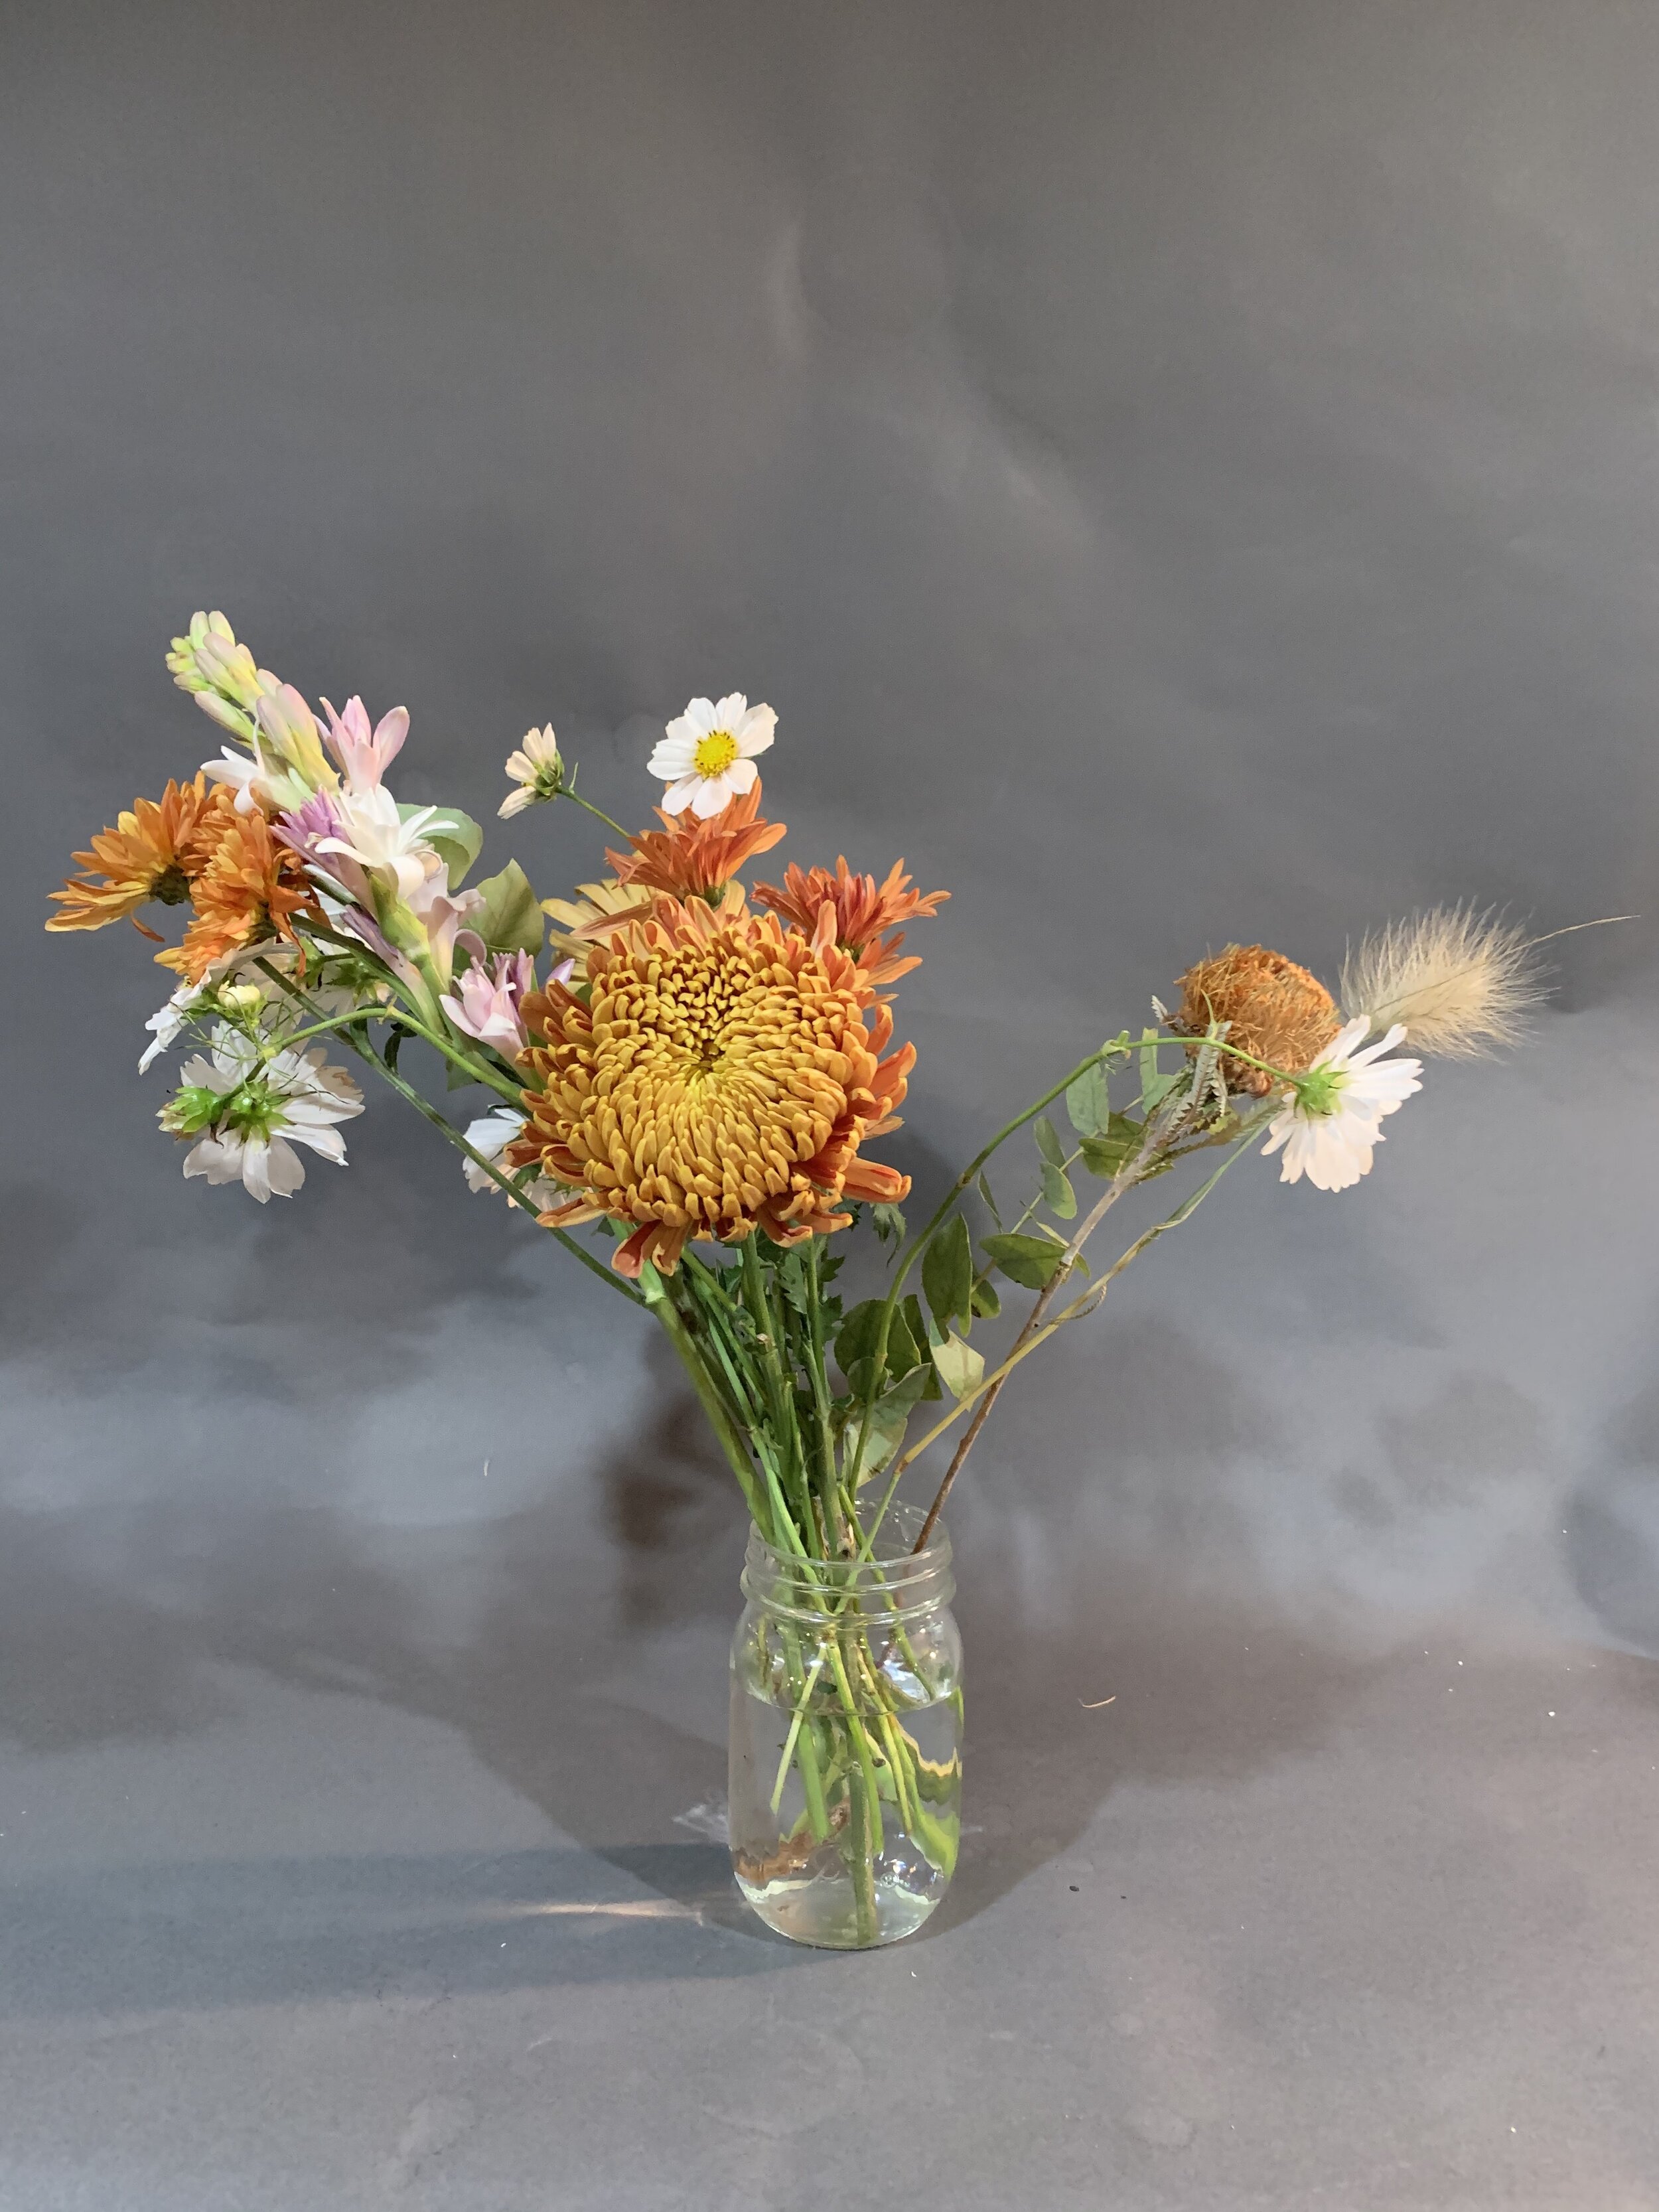
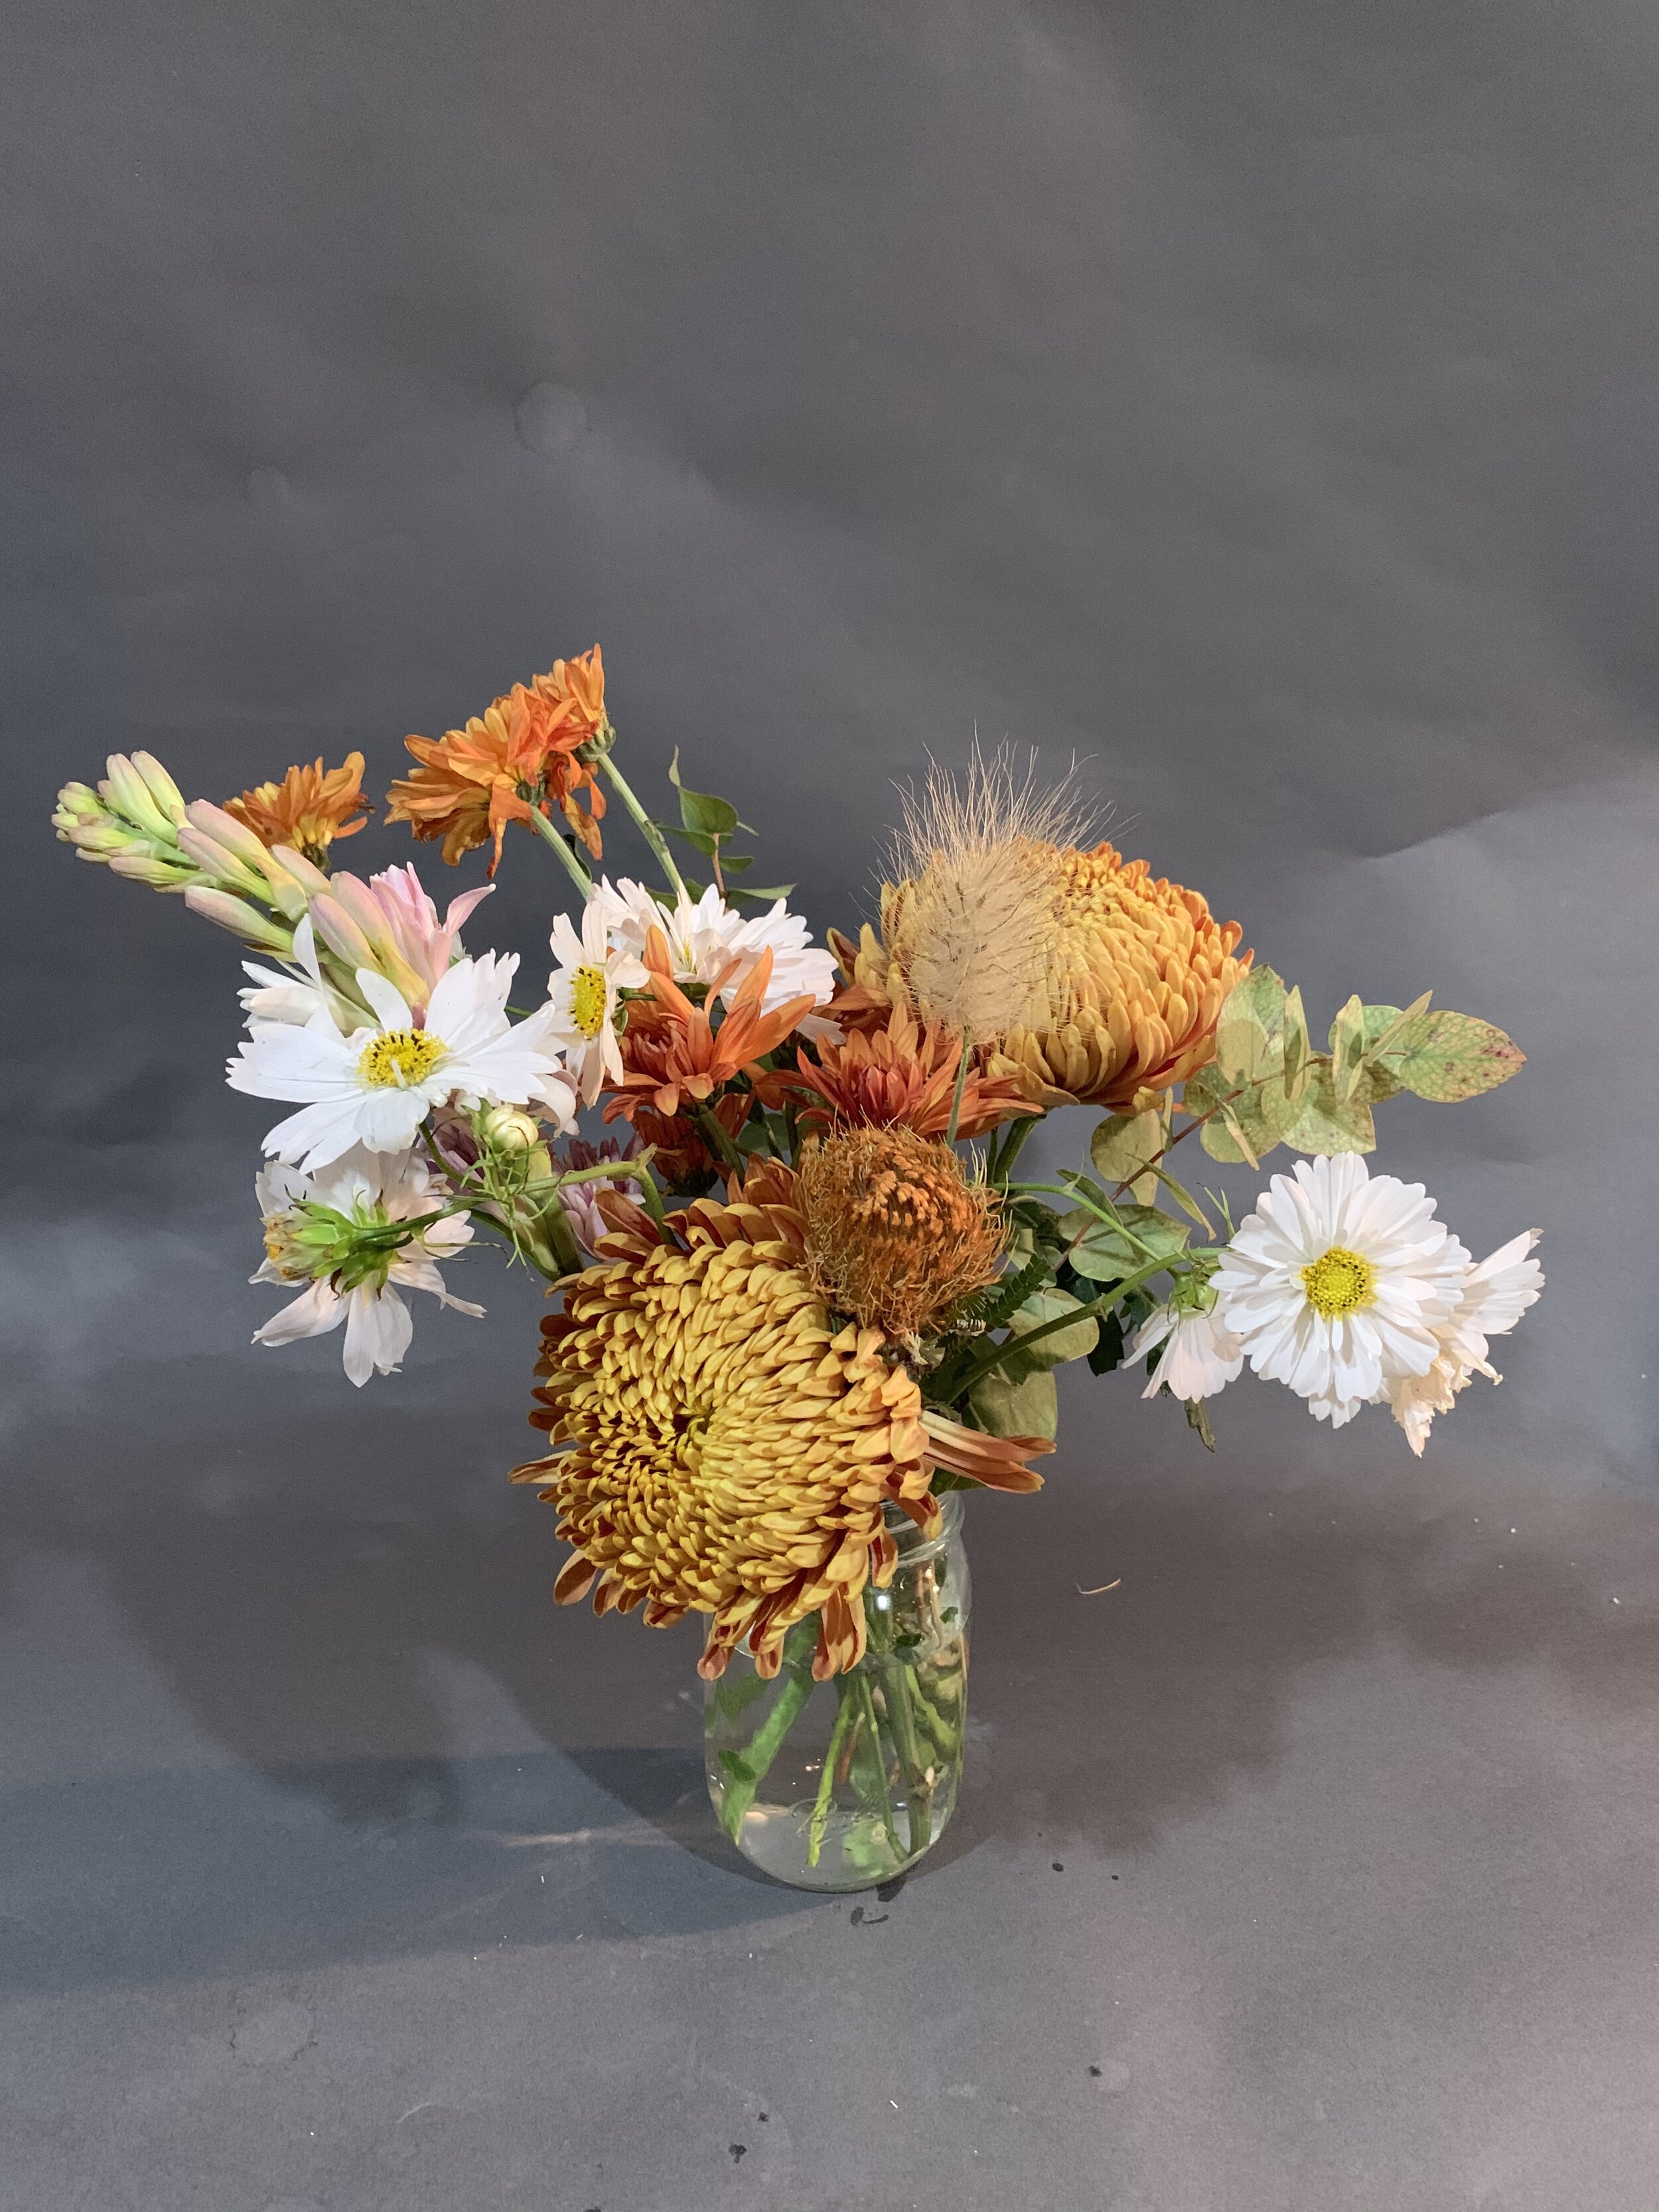
Crazy vs. Not Crazy - Cut the stems down!
TA-DA! But you’re not done yet. Where these flowers gonna go? You’ll want to find a spot away from direct sunlight (it’s fine for the Instagram tho. Don’t forget to tag me!) and away from heat. As someone who has dealt with aggressive radiators that we’re unable to turn off I know the cooler months can be a bit tough on our flowers. Just keep them away from the heat and do this one very very very important thing…
Change out the water daily and give them a fresh cut! Bonus points if you clean the vase every other day, too! Cut flowers start to break down the minute they leave the plant and as mentioned above, that bacteria in the water kills them faster. I know...I know, this is just how it is but we do as much as we can to prolong their life! As stems start to expire, remove and discard them so the bacteria doesn’t affect the other flowers.
You can find all our flower care right here! Have any more questions about taking care of your blooms? Shoot me an email and I’d be happy to help!